
UPDATE 10th July 2020: I’ve now split this guide into two options: A super cheap budget DSLR, or a much better DSLR that takes better photos and makes shooting photos of yourself a hell of a lot simpler.
Looking for a decent camera + lens to take high-quality photos for your online dating profile? This is a quick and dirty guide to grabbing yourself a DSLR camera and lens that’ll do the job nicely.
If you plan on taking photos by yourself, you’ll also need a tripod and remote trigger. Skip these if you’re going to get a friend to take photos of you.
Option 1: Budget Combo
Option 2: Better Combo (RECOMMENDED)
Tripod
Remote Trigger
How to Use Your New Camera
Quick Buying Checklist/Summary
Don’t stress, I’ll have a final checklist at the end telling you exactly what to buy. Heads up: all links on this page are affiliate links (I earn a couple bucks if you buy – at no extra cost to you).
Option 1: Budget Combo
This isn’t the option I recommend, since the actual taking of the photos will be 100 times harder (this camera lacks automatic face-detection and automatic-focusing). But it is cheap, and the photos will look 20 times better than a smartphone.
I owned this camera + lens combo myself from 2012 to early 2020 – they do the job if you’re tight on money. Every single photo you see here, was taken with this setup. (Heads up, I may get a small commission if you use my links to buy these):
Camera Body:
Buy the Nikon D7000 camera body on Amazon (only buy the camera body, without any “kit lens” included. Most lenses that come pre-bundled with the camera aren’t as good for taking portraits.)


A new one on Amazon can be bought here. I recommend buying a second-hand one though (click here for a list of second-hand ones), as you’ll save a tonne of money.
Used is perfectly fine for camera bodies – I owned this camera for over 8 years. DSLRs last a long time.
This doesn’t come with a lens, so make sure you buy the lens below as well or you won’t be able to take any photos.
Lens:
Buy the Nikon 50 mm f/1.8 AF D lens on Amazon (affiliate link).

Buy it on Amazon here new here (affiliate link). I recommend buying this new, not used – you won’t save much if you buy a used one, and lenses can be more easily damaged than the camera body. So a used one may have scratches/dust which may show up in your photos.
The 50mm fixed focal range of this lens is perfect for portraits. The aperture opens all the way up to f1.8 (don’t worry if you don’t know what aperture is), so you’ll get that awesome blurry background effect in your photos.
Again, let me make it clear: You need to buy both the camera and the lens above. The camera doesn’t come with a lens.
Like I said, I used this camera + lens from 2012-2020. They get the job done. However, it’s nowhere near as good as the camera below – particularly for taking photos of yourself; you will have to take 10 times as many photos before you get some with perfect focus where you look great. I’ll go into more detail below.
Option 2: Recommended Combo
This is pretty much the camera I own now. (I own the Canon EOS “R”, not the “RP” – but for our intents and purposes they’re basically the same cameras).
There’s 100 reasons I recommend this next camera over the older one. The biggest reason of all is the camera automatically detects and focuses on your face – without you doing anything. So you can stick your camera on a tripod, take a bunch of photos (even photos of you walking towards the camera, which is a nightmare on the old camera) and every single shot will be perfectly in focus.
You can also hand your camera to a friend or a complete stranger and get them to take photos of you – and you don’t even have to explain to them how to make sure you’re in focus. The camera will handle that for you.
There’s a bunch more:
- You can hold the shutter button down and rapid-fire shots FAR quicker than the Nikon above – great for doing those street shots where you’re walking. I always say, “Just take 300 photos of yourself and some of them will happen to turn out perfectly) – this makes it way easier. This new camera sounds like a machine gun when it’s taking photos.
- It has an LCD screen at the front so you can see what the image will look like as you’re taking it (you don’t have to hold the camera up to your eye and peer through the viewfinder).
- The LCD screen flips out and can rotate to face towards you (perfect for taking portraits of yourself). You can actually see what you look like as you’re taking the photo, so you can adjust your position, fix your clothes, see what you look like when you smile. No more “take a photo, go check what it looks like, try again, go check what the new one looks like” – you can adjust on the fly, saving you HOURS of time.
- Image quality is MUCH better because this is a full-frame camera (the old Nikon above is cropped sensor; so backgrounds aren’t as blurry and nice vs the newer camera). Photos you take will just look better.
- Images are sharper. The autofocus is MUCH more accurate on the new camera – on my old camera, no matter how hard I tried, the focus wasn’t quite perfect (due to the way the autofocus system worked on that camera). This one is handling all the focus for you, using the face-detection algorithm. Focus is always perfect, 100% of the time.
- Send photos to your phone via bluetooth. You have no idea how fucking cool this is until you start using it – now, every single time you want to just take a quick snap of something to send to someone, you can use your high-quality camera and get amazing photos, and then they’re on your phone in an instant. No more shitty smartphone shots of anything, ever. You can even do this automatically – backing up every photo you take, straight onto your phone.
- You’ll take far less shots overall on the new one – on the old camera, you have to mess around with the settings a lot more and try and make sure you’re in focus. Most of your shots won’t be in focus, especially if you move even a tiny bit. On the new camera, because it automatically focuses on your eyes no matter how much you move, you’ll always be perfectly in focus in every shot. No more “Take 100 shots and hope a couple of them are in focus”.
- Video – tonnes of people use this as a blogging/video camera (the video on the old Nikon camera sucks). 1080p, perfect continual autofocus, image stabilisation, the camera itself is smaller and weighs less so it’s easier to hold. Not to mention the LCD screen makes it a BILLION times easier to frame shots – you don’t have to look through the viewfinder. You can hold the camera wherever the hell you want, and look at the LCD screen.
- You can use the camera as a webcam on your computer – so you get professional looking 1080p video quality with that nice blurry background. My coaching clients have all told me my Skype calls look WAY better now that I’m using this camera.
- Can plug the camera straight into pc and pull the images off (on old camera, you have to take out the SD card, and use an SD card reader).
It’s not even remotely a fair fight – the old camera was released in 2010, and the new one 2019. There’s a decade of technology and advancements between them; would you expect a phone from 9 years ago to be decent compared to one now?
For practical purposes, you’ll end up taking far less photos and your photoshoots will be a lot more fun and a lot less frustrating. Autofocus really is a game-changer; as is the ability to rotate the LCD screen and see what you’re going to look like before you take the photo.
Camera Body:
Buy the Canon EOS RP with adapter on Amazon (affiliate link). This link has a lens adapter included – this adapter is REQUIRED in order to use the lens I’m recommending below. This link comes with the adapter included. (However, if for some reason you buy the camera without the adapter, you can buy the adapter separately here (affiliate link).

This doesn’t come with a lens, so make sure you buy the lens below as well or you won’t be able to take any photos.
Lens:
First make sure you got the kit above that comes with the adapter, then buy the Canon 50mm f/1.8 EF II lens here on Amazon (affiliate link).

This is a ridiculously good lens – it takes incredibly amazing photos, especially portraits.
Other Stuff You’ll Need
SD Card:
You’ll need an SD card to take photos – you can’t shoot without one. If you don’t have one already, buy this one on Amazon (affiliate link).

Tripod
If you plan on taking photos of yourself, you’ll need a tripod to sit your camera on.
Buy this tripod on Amazon (affiliate link).
It’s basically the same tripod I have, but significantly less than I paid for mine. It works for both cameras.

It’s very affordable and gets the job done. It unfolds to a max height of 169cm (5ft5), is lightweight and durable, and packs up small enough to fit in a backpack.
Remote Trigger
If you’re taking photos of yourself, you’ll also need a cheap remote trigger.
- If you bought the budget camera above, use this remote on Amazon (affiliate link).
- If you bought the recommended camera above, use this remote on Amazon (affiliate link).
^ I know both those links above look like the same remote, but they’re not. One of them ONLY works for Nikon, the other one ONLY works for Canon, so make sure you buy the correct remote.
Note: If you buy the recommended camera, you CAN use an app on your phone as a remote trigger. However, it’s alower (there’s a slight delay between hitting the button and the camera taking the photo) – hence I recommend the very cheap remote listed above. That has zero delay – you click the button, the photo is taken instantly.
You can even half-press the button to focus on your subject (just like you would half-press the actual shutter button on the camera itself).
I’ve used this remote trigger for about 5 years now, and it’s still going strong. I use it for every single photo I’ve ever taken of myself. It takes AAA batteries, so make sure you carry a couple spare in your backpack. Just make sure to turn them off when not in use – I’ve drained a few batteries by accidentally leaving them on for a few days.
How to Use Your New Camera
Beginners guides to get you started:
- Canon EOS RP User’s Guide
- Nikon D7000 Tutorial – A Fast Start Guide to Your DSLR
- Nikon D7000 Tutorial: All Settings, Menus, Functions by Carlos Erban
- The dPS Ultimate Guide to Photography for Beginners
- The Ultimate Guide to Learning how to use Your first DSLR
- 21 Creative Self Portrait Ideas for Photographers
- How To Take a Self-Portrait
- 10 Most Common Self Portrait Photography Mistakes
Posing/photo guides:
- 7 of the Best Poses
- A Photographer’s Guide to Posing Men In Portraits
- How to Improve Your Self-Portrait Photography
- 18+ More Poses
- 100 Seriously Cool Self-Portraits (scroll down the page a bit for the actual examples).
- 14 Tips for Taking Creative Self-Portraits
- My own personal photography portfolio (feel free to copy ideas I’ve done).
And some quick tips from me:
- Shoot at the lowest f-stop number you can (usually f/1.8). The lower the number, the more of that sexy “blurry background effect” you get (known as “low depth of field”).
- Shoot vertical (turn the camera sideways) – NOT horizontal. Tinder crops photos vertically; as do most of the other dating apps.
- Don’t stand too far back. Most guys make the mistake of standing way too far back. Stand closer, so you fill up more of the shot (you don’t want huge gaps of empty space above/below your head in the photo). Not to mention the closer you are, the blurrier the background,which looks even better.
- Take a BUNCH of photos. Literally just hold down the shutter button and rapid-fire 50 photos at a time. That way you increase the chances of one of them having a nice natural-looking pose. If you just shoot 1 photo at a time, it’ll look “staged” and “posed” (because you literally have to pose for the photo, since you can only take 1 at a time).
- Turn on these settings, found in the camera’s settings menu:
– AF-S (Servo Autofocus)
– Continuous (Low-Speed) shooting. Don’t use high-speed continuous; low-speed lets the camera re-focus between shots when you’re rapid-firing.
– Face detection on.
– Eye-tracking on. - Always shoot in C-RAW (or just normal RAW if your camera doesn’t have C-RAW) Never shoot in JPG. C-RAW/RAW is a setting in your camera’s menu. Use C-RAW. RAW photos are higher quality, especially if you/someone else edit the photos in Photoshop.
Photos Taken with these Cameras:
Here’s a few photos I’ve taken with both cameras and lenses.


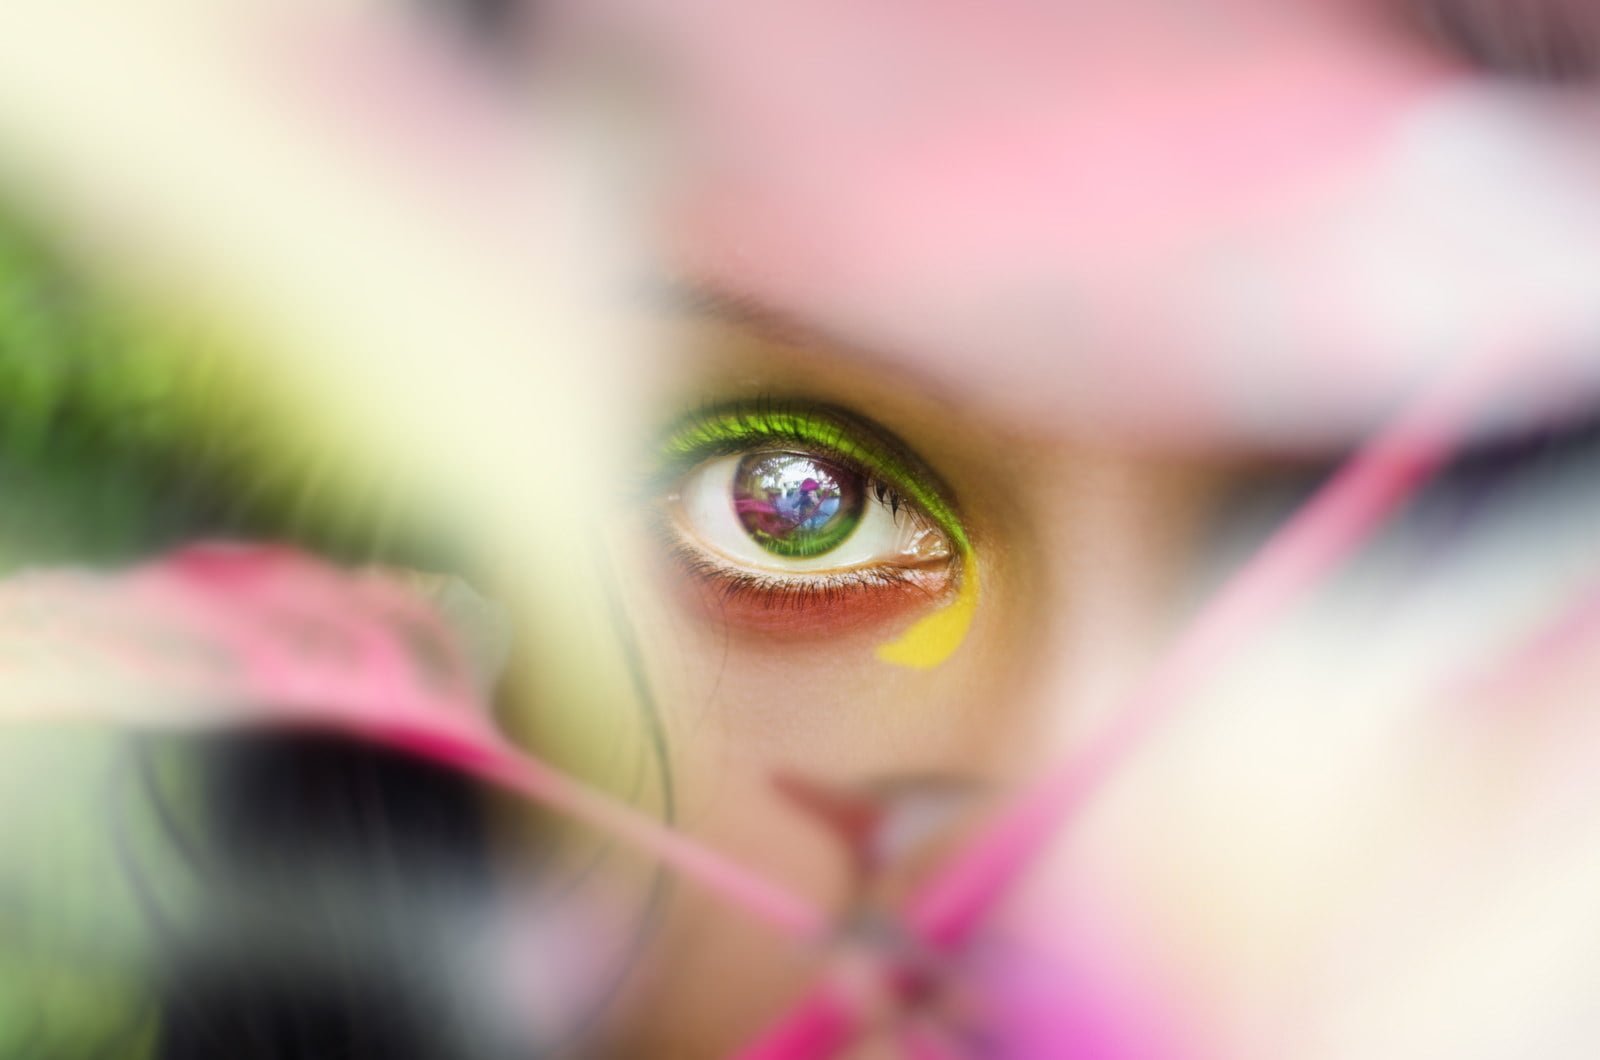
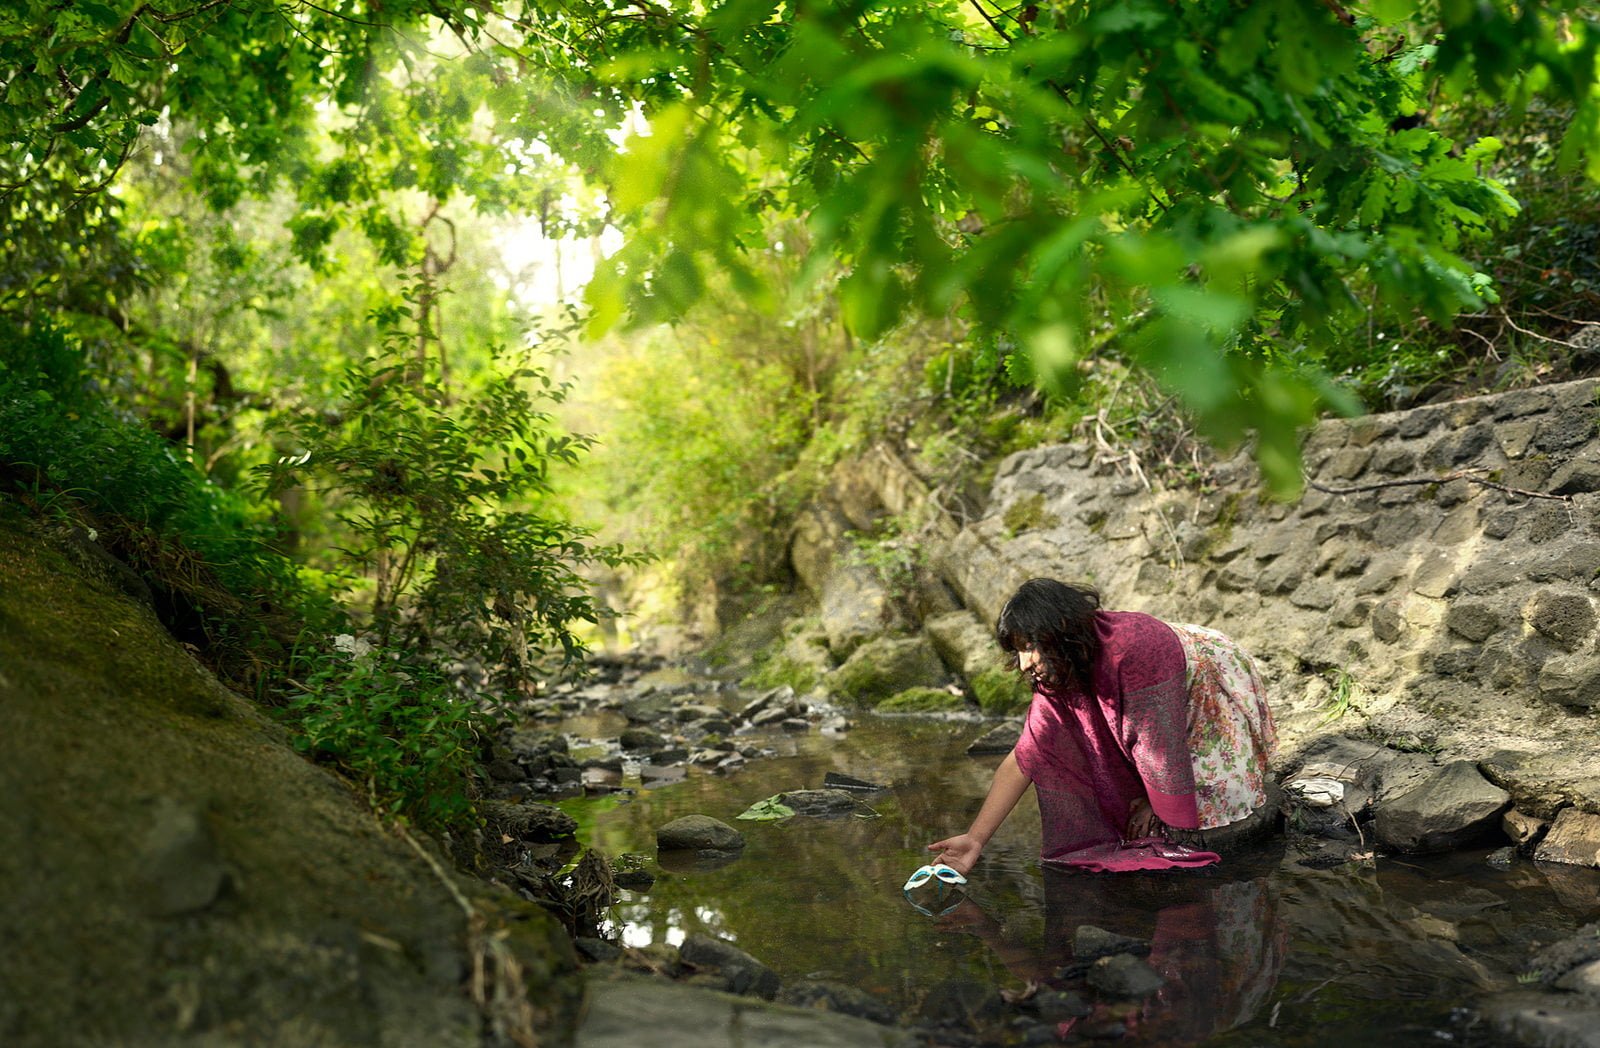
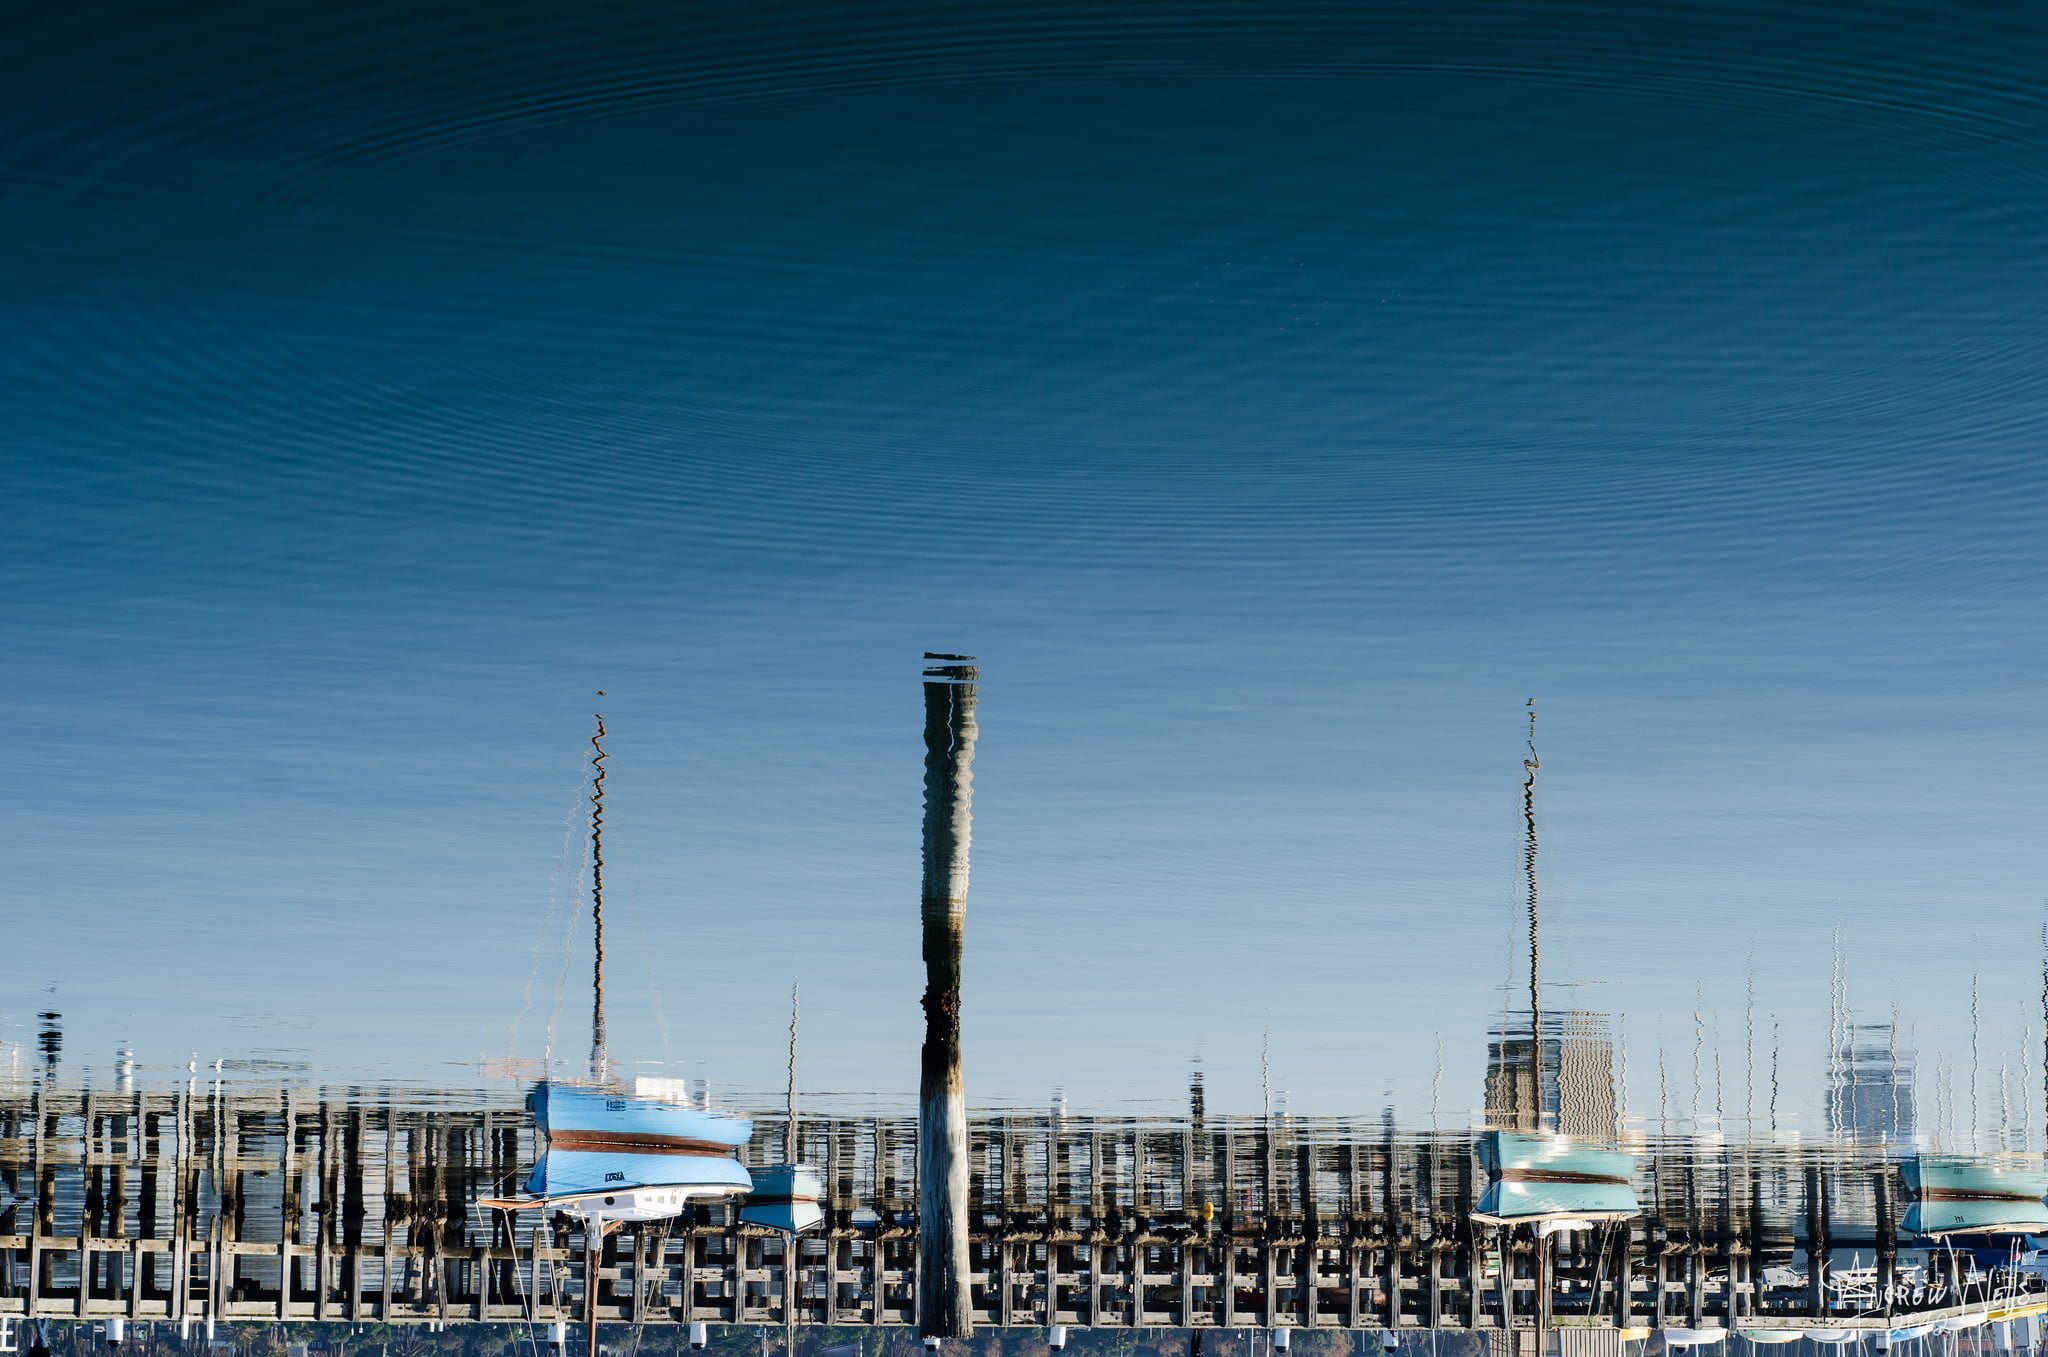


Pretty much every other photo I have on this site was taken with either the old (budget) camera, or the new (recommended) camera.
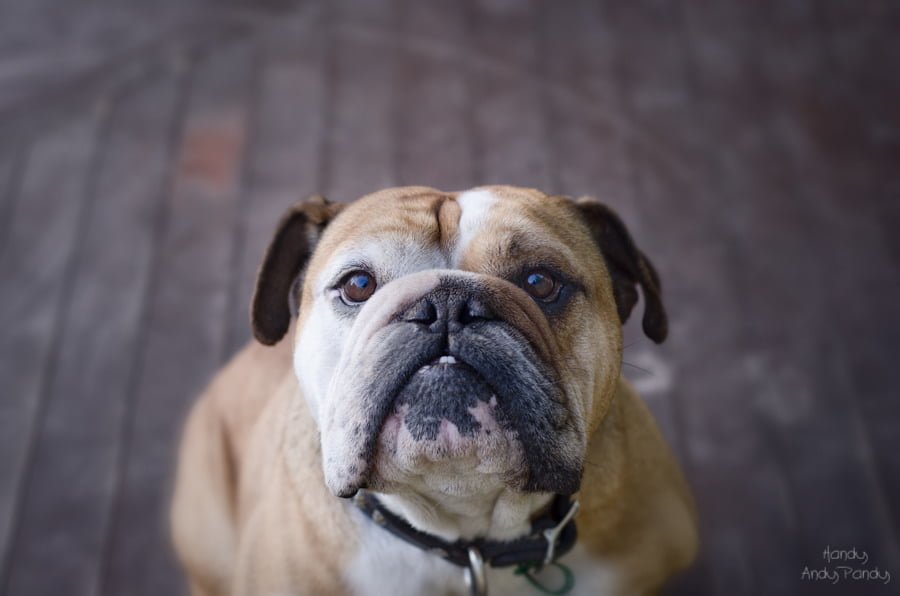
I’m a photographer so I know what I’m doing. A better example is from two of my mates who I’ve recommended this combo to. Both of them had NO experience using a DSLR, and taught themselves by taking literally thousands of photos. Here’s some shots they’ve both done:
So if two complete amateurs can take great photos with just a couple months practice, you sure as hell can too.
Quick Buying Checklist
Budget Option (all affiliate links):
- Camera: Nikon D7000 (or buy a used one for cheaper).
- Lens: Nikon 50 mm f/1.8 AF D
- SD Card: SanDisk 64GB Extreme PRO SDXC UHS-I Card
- Tripod (optional, if you plan on taking photos of yourself): Neewer Carbon Fiber 66 inches Tripod
- Remote Trigger (optional, if taking photos of yourself): Yongnuo RF-603N II
Recommended Option (all affiliate links):
- Camera: Canon EOS RP with adapter
- Adapter: The link above automatically comes with this adapter. (However, if for some reason you buy the camera without the adapter, you can buy the adapter separately here.)
- Lens: Canon EF 50mm f/1.8 STM Lens
- SD Card: SanDisk 64GB Extreme PRO SDXC UHS-I Card
- Tripod (optional, if you plan on taking photos of yourself): Neewer Carbon Fiber 66 inches Tripod
- Remote Trigger (optional, if taking photos of yourself): YongNuo RF-603 II C1.
Any questions? Drop them in the comments section below.

Hey Andy,
It’s looking like the linked remote trigger for the recommended cam may be out of stock/discontinued on Amazon. Got a backup suggestion for a trigger that will work on the Canon camera?
Hey Andy, do you also have a recommendation for a zoom lens with the Canon EOS RP? I have already bought the aperture lens, but I would also love to be able to zoom a bit, especially during my travels. Mainly buildings / churches / people from time to time as well, without blurry background.
And do you have a recommendation for a flash?
No recommendations for zooms – I don’t use them (I only own a few prime (non-zoom) lenses).
Same with flashes – I don’t use them. I use continuous lighting for all my shoots.
A flash is only useful for the kinds of shots you see above if you also have a remote trigger on the hotshoe and the flash or realistically flashes is / are off-camera.
If you have no idea what that means, start with Strobist.
If you don’t want to master the flash, which is its own challenge, get one or two LED panels like https://www.amazon.com/Weeylite-Portable-360°Full-Lighting-2500K-8500K/dp/B09FDKWH9K. To use them effectively you must adjust the color and color temperature to achieve the effect you want. But lighting someone this way can be effective.
Hi Andy, other than taking these higly needed pictures I would like to make some youtube videos on my field of interest. Do you think that any of these two cameras could also be used for recording fairly good videos? I’m very much on a budget so I would rather buy the cheap one though! Thanks
Yep the Canon EOS RP is basically the same camera I use for my own YouTube channel (here: https://www.youtube.com/channel/UCPSGW8bl1MGNkzPENUQNwkg/videos ). I’m using the Canon EOS R which is pretty much the exact same camera.
I wouldn’t recommend the Nikon – it doesn’t have good autofocus during video, and no face-tracking/eye-tracking, so focusing with it is a major bitch. It’s basically unusable if you plan on doing vlogs of your face, because you’ll often not be in focus (I tried quite a few times). The Canon camera doesn’t have this problem.
Hey Andy, great post thank you for the information. I had a question regarding the camera you recommended. For the Canon EF 50mm f/1.8 STM lens you recommended, the adapter is not available anywhere. I’ve been waiting for a while, but the manufacturer has not dropped when it will be back in stock. Yesterday, Canon released a Canon RF 50mm f/1.8 STM lens. I can just use this without the adapter right? Thanks again.
Yep. So any lenses that have “RF” in the name, will fit the Canon EOS R/Canon EOS RP without any sort of adapter. To quote the Canon website, “The RF lens series natively fit the EOS R series of cameras”
Hey Andy I bought the camera using the link you provided ! I actually bought your coaching services about 3-4 years back I believe . About to start a 70k a year job and I’m extremely excited . I haven’t been on the forums in awhile but I definitely cannot wait to update it ! Thank you For everything you do for the community 🙂 PS: I was also having trouble finding the adapter so I had to buy it separately using the affiliate link but it won’t come for 3 weeks . I’m very happy to hear that you can use the lens the above poster asked for without the adapter as well !
Awesome man, keep crushing it.
Hi Andy, great site. Have a question for you on cameras. My housemate is offering me a Canon EOS 1200D in good condition for £250 including lense.
I could get the Nikon you recommend but would end up being £400 at least with lenst.
Do you think it’s worth the extra for the Nikon? The Canon one is pretty basic, doesn’t have touchscreen and you need to look through viewfinder. I think it’s pretty much the lowest version of the DSLR that you can get.
I also have no clue about photography so maybe a more expensive one would make up for that a bit?
Or am I overthinking?! Just buy whichever and get shooting is what I predict you’ll say now I’ve written this.
thanks
The Nikon one I recommended in this article is basic too – that doesn’t have a touchscreen either (you need to look through the viewfinder). It’s the more expensive Canon EOS RP I recommended that has the touchscreen, other features, etc.
I have no idea what the Canon EOS 1200D is like, nor what lens is coming with it (the lens matters just as much – if not more – than the camera). Ask your housemate what lens it comes with – and if he says “It comes with a 18-55mm lens” that’s a “Fuck no!”
Go ask about the lens, come back and reply, and I’ll give further advice.
-Andy
Haha yeah it’s a 18-55mm lens.
I’d love to get the more expensive one you recommend but I can’t justify that expense on something I might not end up using that much.
Maybe if I start to get into taking photos with a cheaper one I could consider it in future though.
Thanks for taking time to reply.
If you’re gonna buy your housemate’s cheap camera – buy the canon lens I posted above. This one:
https://amzn.to/2AkGzhC
(You WON’T need to buy the adapter for it; just the lens. You only need the adapter if you’re buying the newer Canon camera, the EOS RP).
The 18-55mm lens your housemate has isn’t going to give that nice sexy out-of-focus “blurry background” effect; which is the entire point of buying a DSLR in the first place. The lens 50mm f/1.8 lens will. Should be able to buy it at that link, used, for less than $100.
-Andy
thanks mate appreciate it
Why the 7000 over the 3400?
It’s the camera I’ve shot 10,000+ photos with and can therefore personally recommend. I’ve never touched a 3400.
Buy whatever camera you like. Time spent debating which camera to buy is time better spent out there taking photos/talking to girls/hitting the gym/etc.
The 7000 is much more advanced. It has some extra controls that the 3400 does not. The 3400 is really not much more than a glorified point and shoot, that you happen to be able to change lenses on.
Where do you recommend your fellow Australians purchasing the second hand camera body and new lens? Doesn’t look like the amazon links you included ship down under.
Ebay mate – should be some second hand ones on there. Let me know how you go.
Where abouts in Aus are you? I’m in Melb.
Ahh ok, yeah ill check it out.
Me too bro.
Been following your shit for a while now on gll.
Dude, serious? Shoot me an email, we’ll grab a beer. I live in the city centre (next to Melbourne Central).